Projects
This page walks you through creating a project, inviting members, and using Labs, Servings, and Volumes together.
A project is the unit of resource isolation. You can only view resources for projects you created or are a member of.
| Number | Description |
|---|---|
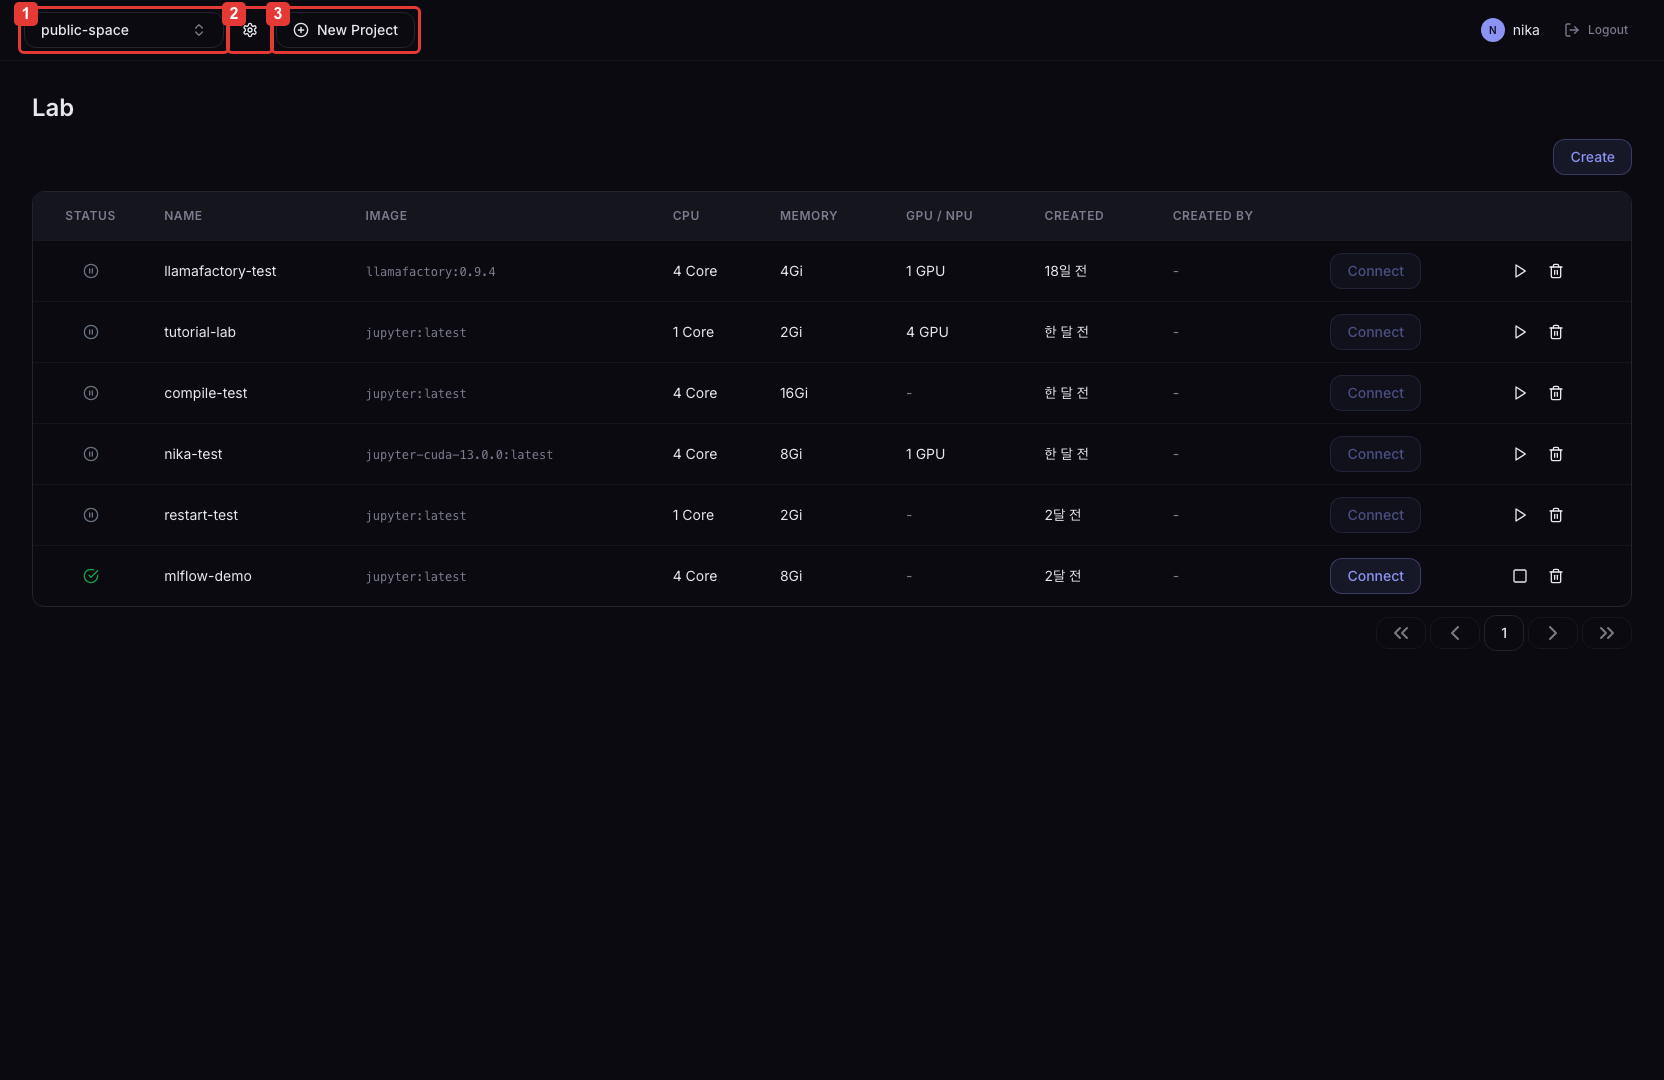
| ① | Switch the current working project. Only Labs/Servings/Volumes that belong to the selected project are shown. |
| ② | Create a new project. The name must be at least 3 characters, use only lowercase letters, digits, and hyphens, and be unique across the system. |
| ③ | Invite members to the current project. Invited users gain access to the project at their next login. |
Select a Project
- Click the ① project selector dropdown in the top header.
- From the list of available projects, select the one you want.
- Resources for the selected project (Labs, Servings, etc.) appear on the screen.
When you select a project, any Lab, Serving, or Volume you create afterward belongs to the currently selected project. Always confirm the correct project is selected before creating resources.
Create a Project
- Click the ② New Project button in the top header.
- Enter the project name.
- Lowercase letters, digits, and hyphens (-) only, at least 3 characters (e.g.,
my-ml-project). - Project names must be unique.
- Lowercase letters, digits, and hyphens (-) only, at least 3 characters (e.g.,
- Click Create.
Invite Members
- Click the ③ Add Member button in the top header.
- Enter the username of the user to invite.
- Click Add Member.
- At their next login, the added user sees the project automatically in their project selector dropdown and can access it immediately.
Leave a Project
- In the project selector dropdown, click the leave icon next to the project you want to leave.
- Click Leave in the confirmation dialog.
If you are the last member of the project, an additional confirmation dialog warns you that leaving will delete the project and all of its child resources (Servings, Labs, Volumes, etc.). Leaving proceeds only after you confirm.
public-space is the default shared project that every user belongs to automatically. Access is granted at login, and you cannot leave this project.