Serve a RAG Chatbot with OpenWebUI
Put OpenWebUI in front of the NuFi LLM Serving to get a ChatGPT-style chat screen and document-grounded answers (RAG) without writing any extra code. NuFi Serving provides an OpenAI-compatible API (/v1/chat/completions), so OpenWebUI can connect directly, and document search uses the Knowledge feature built into OpenWebUI.
Composition
Serving: qwen-instruct-tutorial-v1-original   ← OpenAI-compatible LLM backend (vLLM, deployed as a prerequisite)
  └─ /v1/chat/completions

Volume: openwebui-volume                      ← OpenWebUI config / user DB + uploaded docs + built-in index storage
  └─ /app/backend/data

Serving: tutorial-openwebui                   ← External exposure point
  └─ ghcr.io/open-webui/open-webui:main
  └─ Connects the LLM Serving as an OpenAI-compatible backend
  └─ Upload documents to a Knowledge collection → reference with # in chat
OpenWebUI stores user accounts, conversation history, uploaded documents, and the built-in embedding index all under the container's /app/backend/data. Mount a NuFi Volume so the data persists across Pod restarts.
Prerequisites
- A vLLM-based LLM Serving is Running per the prerequisites of Build a RAG Chatbot in Lab.
- Know the model ID used when deploying the LLM Serving (the value after
--modelin the Serving detail Command/Args) - 1–2 English text documents for testing (
.md,.txt,.pdf, etc.)
Values shown in environment variables and URLs must be replaced with values from your own environment. The main locations:
- Project namespace — Check the project namespace area of the top header in the NuFi dashboard. This guide uses
ragas the namespace in examples. - LLM Serving name — The name shown in the Development > Serving list. At Quick Deploy time it's auto-generated in the form
<model-name>-<version>-<artifact>. This guide usesqwen-instruct-tutorial-v1-originalprepared as a prerequisite as the example. - OpenWebUI Serving name — The value you enter directly in this tutorial:
tutorial-openwebui.
1. Create a Volume for OpenWebUI data
For the volume creation procedure, see User Guide > Storage > Create Volume. Create with the values below.
| Field | Value |
|---|---|
| Volume Name | openwebui-volume |
| Size | 10Gi |
If you plan to upload many documents or keep long chat histories, use a larger Size. After creation, check that the volume is Ready in the list.
OpenWebUI stores not only user accounts, chat history, and workspace settings but also documents uploaded to Knowledge and the built-in embedding index under /app/backend/data. Without a Volume, the documents and the index are lost whenever the Pod restarts.
2. Deploy the OpenWebUI Serving
For how to create a Serving and the meaning of each field, see User Guide > Serving > Create Serving. This guide only covers values specific to this tutorial.
Go to Development > Serving > Create to deploy OpenWebUI.
Step 1 — Basic information
| Field | Value |
|---|---|
| Service Name | tutorial-openwebui |
| Description | OpenWebUI chat UI with Knowledge |
| Service Template | Custom |
Step 2 — Detailed settings
| Field | Value |
|---|---|
| Image | ghcr.io/open-webui/open-webui:main |
| CPU | 2 |
| Memory | 8 |
| Accelerator Type | None |
| Replicas | 1 |
| Inference Port | 8080 |
Volume Mount
| Field | Value |
|---|---|
| Volume | openwebui-volume |
| Mount Path | /app/backend/data |
Environment Variables
OPENAI_API_BASE_URL=http://qwen-instruct-tutorial-v1-original.rag.svc:80/v1
OPENAI_API_KEY=unused
WEBUI_AUTH=true
ENABLE_OLLAMA_API=false
ENABLE_RAG_HYBRID_SEARCH=true
OPENAI_API_BASE_URL— Internal call URL of the LLM Serving in the formhttp://<llm-service-name>.<project-namespace>.svc:80/v1. Replace<llm-service-name>and<project-namespace>per the prerequisites with your environment.OPENAI_API_KEY— Any string (NuFi internal Servings don't validate the key).WEBUI_AUTH— Leave astrueso the first signup automatically becomes admin. Leave this for in-house sharing.ENABLE_OLLAMA_API— Turn off; we don't use the Ollama backend.ENABLE_RAG_HYBRID_SEARCH— Performs Knowledge search as hybrid vector + BM25, improving accuracy over pure vector search.
After deployment, sign up with the first account to become admin, then turn off Admin Settings > General > Enable New Sign Ups in OpenWebUI to block external signups.
After deployment, in the Development > Serving list, wait until tutorial-openwebui reaches Running. The first start downloads the embedding model and may take 1–3 minutes.
3. Connect and initial setup
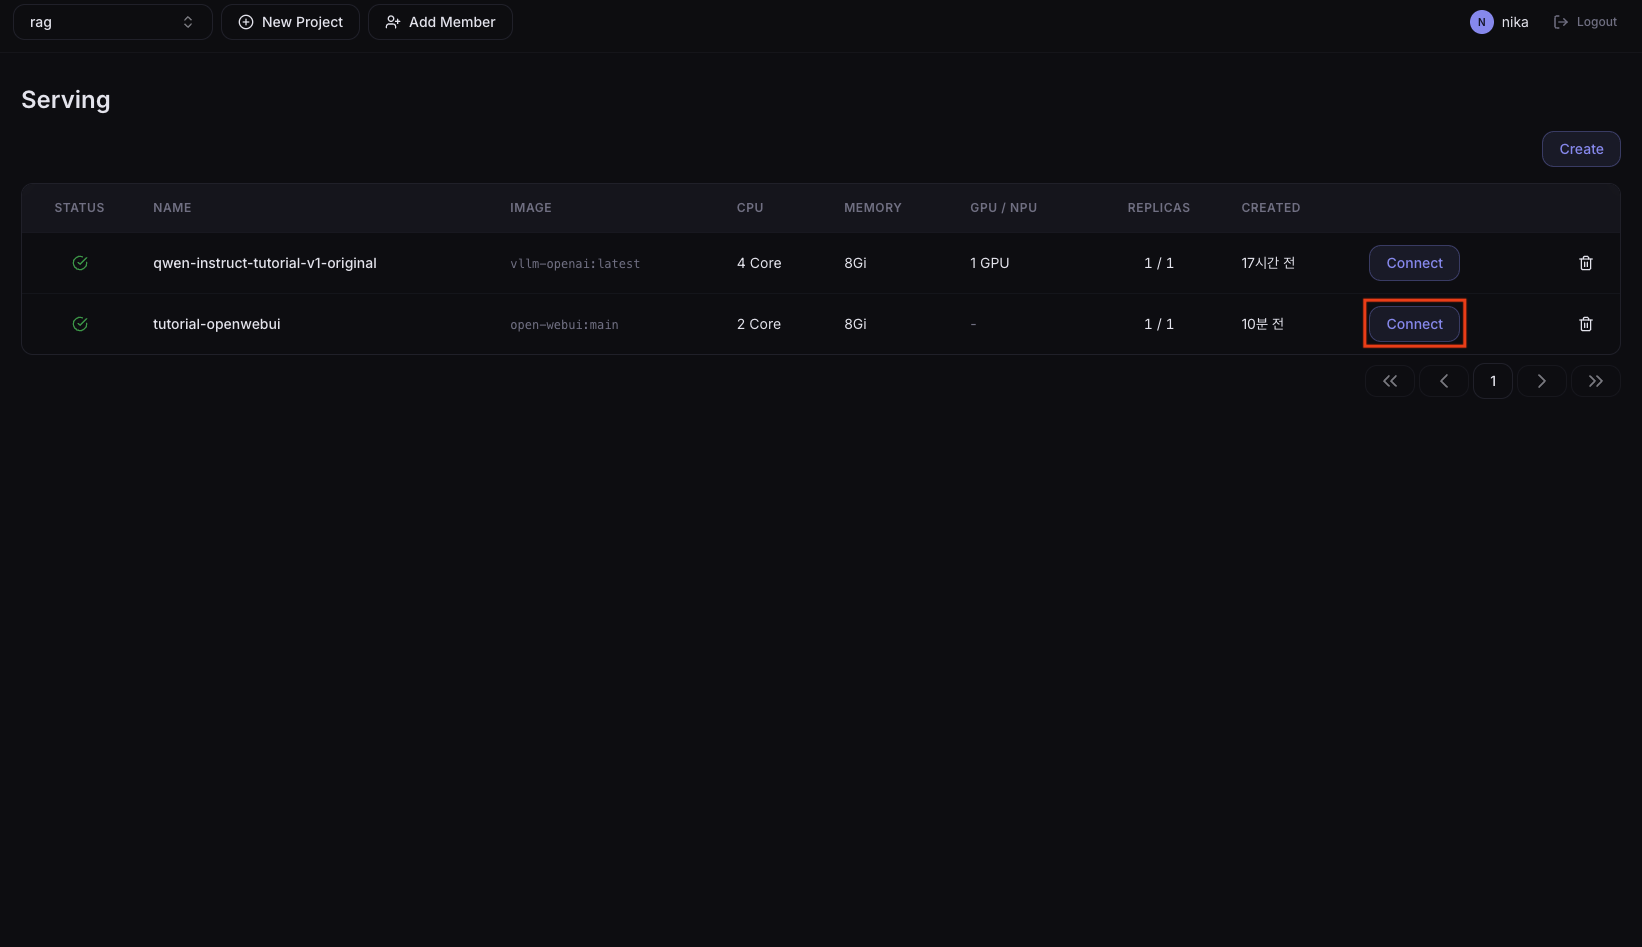
1. Open the Connect URL
In the Serving list, select tutorial-openwebui and press the Connect button to open the external URL.
2. Create the admin account
The first time you connect, the sign-up screen appears. Enter name, email, and password to create the first account. The first signup automatically becomes admin.
User info is stored inside openwebui-volume, so if you lose the password you'll need to mount the Volume in a Lab and edit the user table directly. Keep the password in a safe place.
4. Check LLM Serving connection
The connection should already be wired through the environment variable (OPENAI_API_BASE_URL). Verify in the UI.
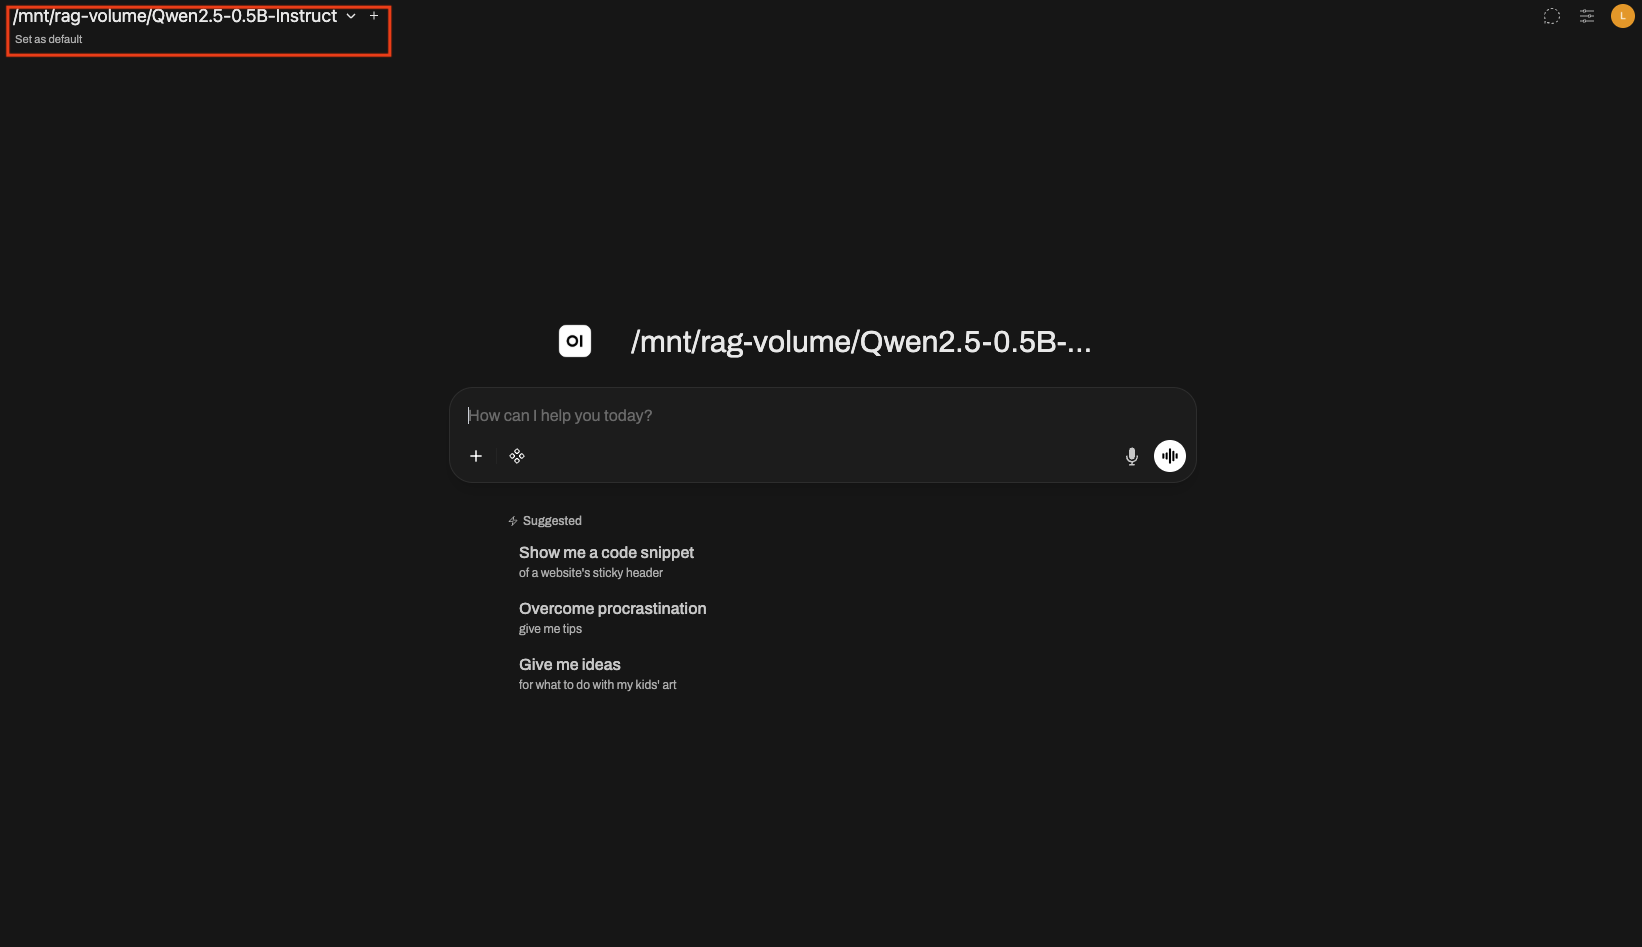
1. Open the model selection dropdown
Open the model selection dropdown in the top-left. You should see the model IDs exposed by the LLM Serving pointed to by OPENAI_API_BASE_URL. Verify it matches the --model (or --served-model-name) value from the prerequisites.
2. If the model is not visible
Check in the following order.
- Click your avatar (top right) → Admin Panel → the Settings tab at the top → Connections in the left menu → go to the OpenAI API item.
- Verify that the entered URL matches the
OPENAI_API_BASE_URLenvironment variable value, and press the refresh button next to the URL to refetch the model list. - If still empty, check the LLM Serving detail → Logs tab to see whether vLLM is ready.
5. Note on Korean embedding
OpenWebUI's default embedding model is trained mainly on English. To accurately search Korean documents you need to swap in a multilingual embedding model separately. This tutorial skips that step and uploads English documents to verify operation.
6. Create a Knowledge collection
A Knowledge collection is the unit that groups documents. Upload multiple files to a single collection and reference the whole collection from chat.
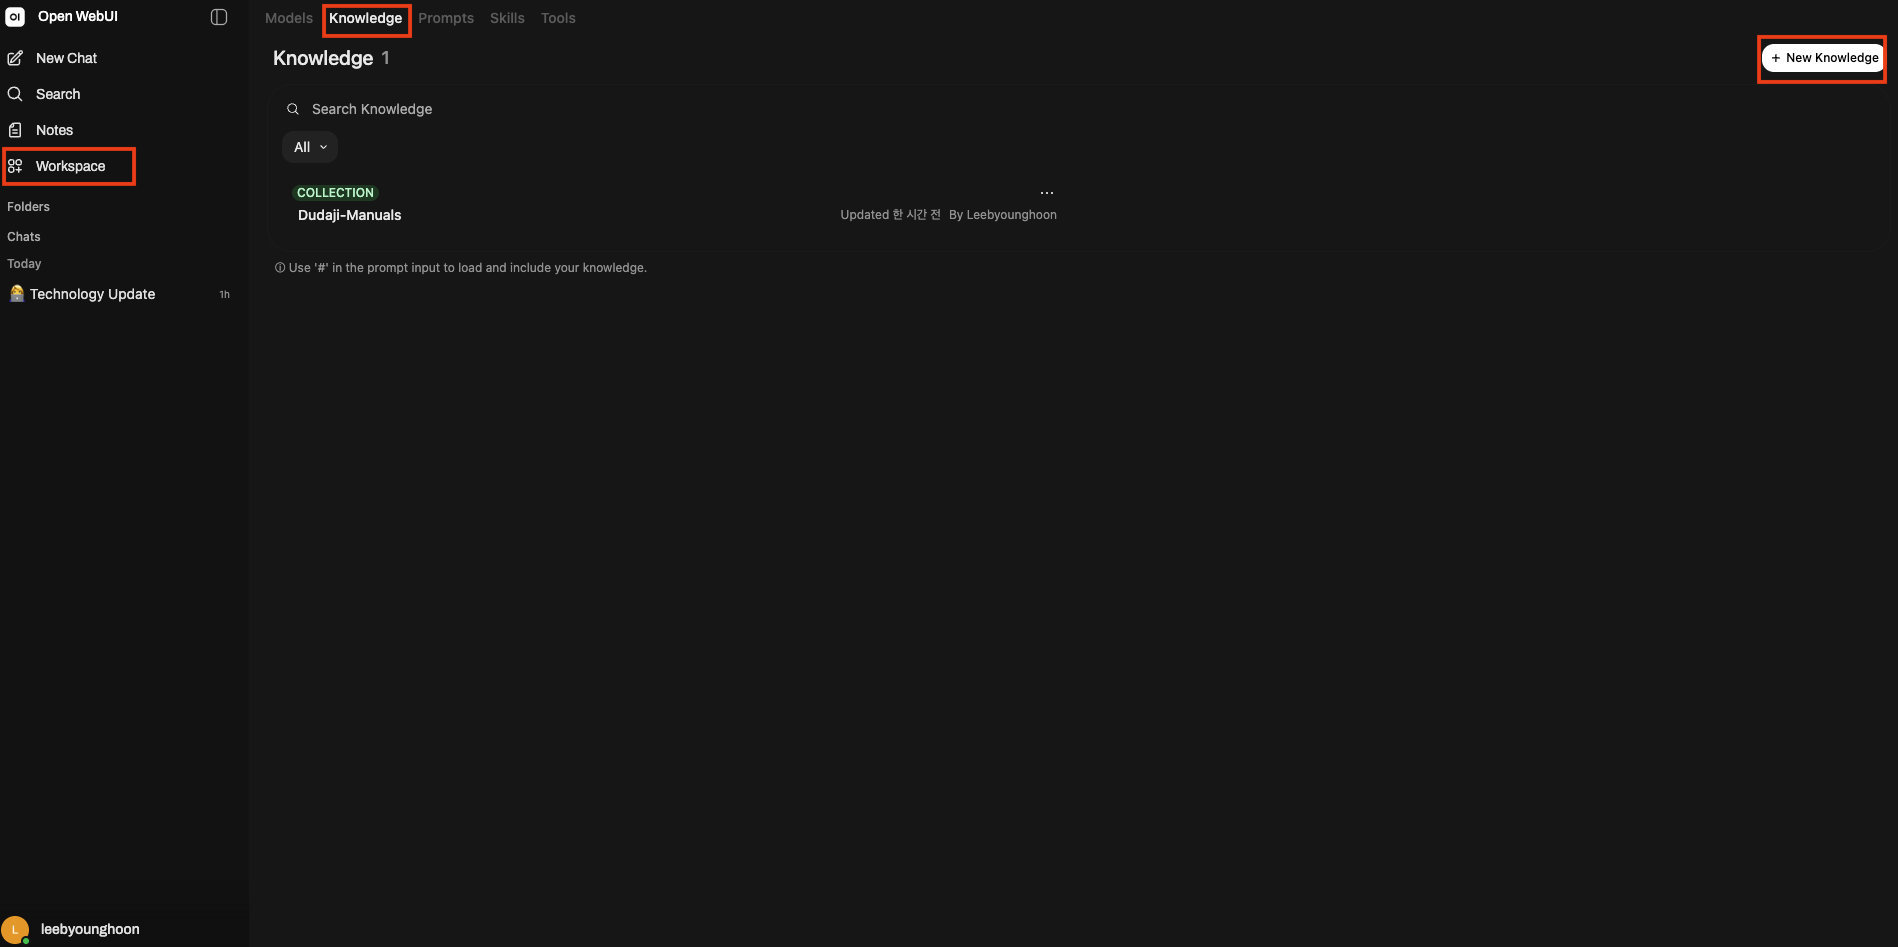
- In the left sidebar, go to Workspace > Knowledge.
- Click + New Knowledge in the upper right.
- When the
Create a knowledge basedialog opens, fill in:- What are you working on? (Name your knowledge base):
tutorial-docs - What are you trying to achieve? (Describe your knowledge base and objectives): any short description (e.g.,
Dudaji product manuals)
- What are you working on? (Name your knowledge base):
- Click the Create button.
7. Upload documents
Open the tutorial-docs collection and either click + Add Content or drag files into the central drop zone.
- Recommended formats:
.md,.txt,.pdf(OpenWebUI extracts text from PDFs internally) - You can upload multiple files at once
Uploaded files are immediately chunked, embedded, and loaded into the collection. They can be used for search once each file's Status becomes Processed.
8. Use Knowledge from chat
Method 1 — One-off collection reference (#)
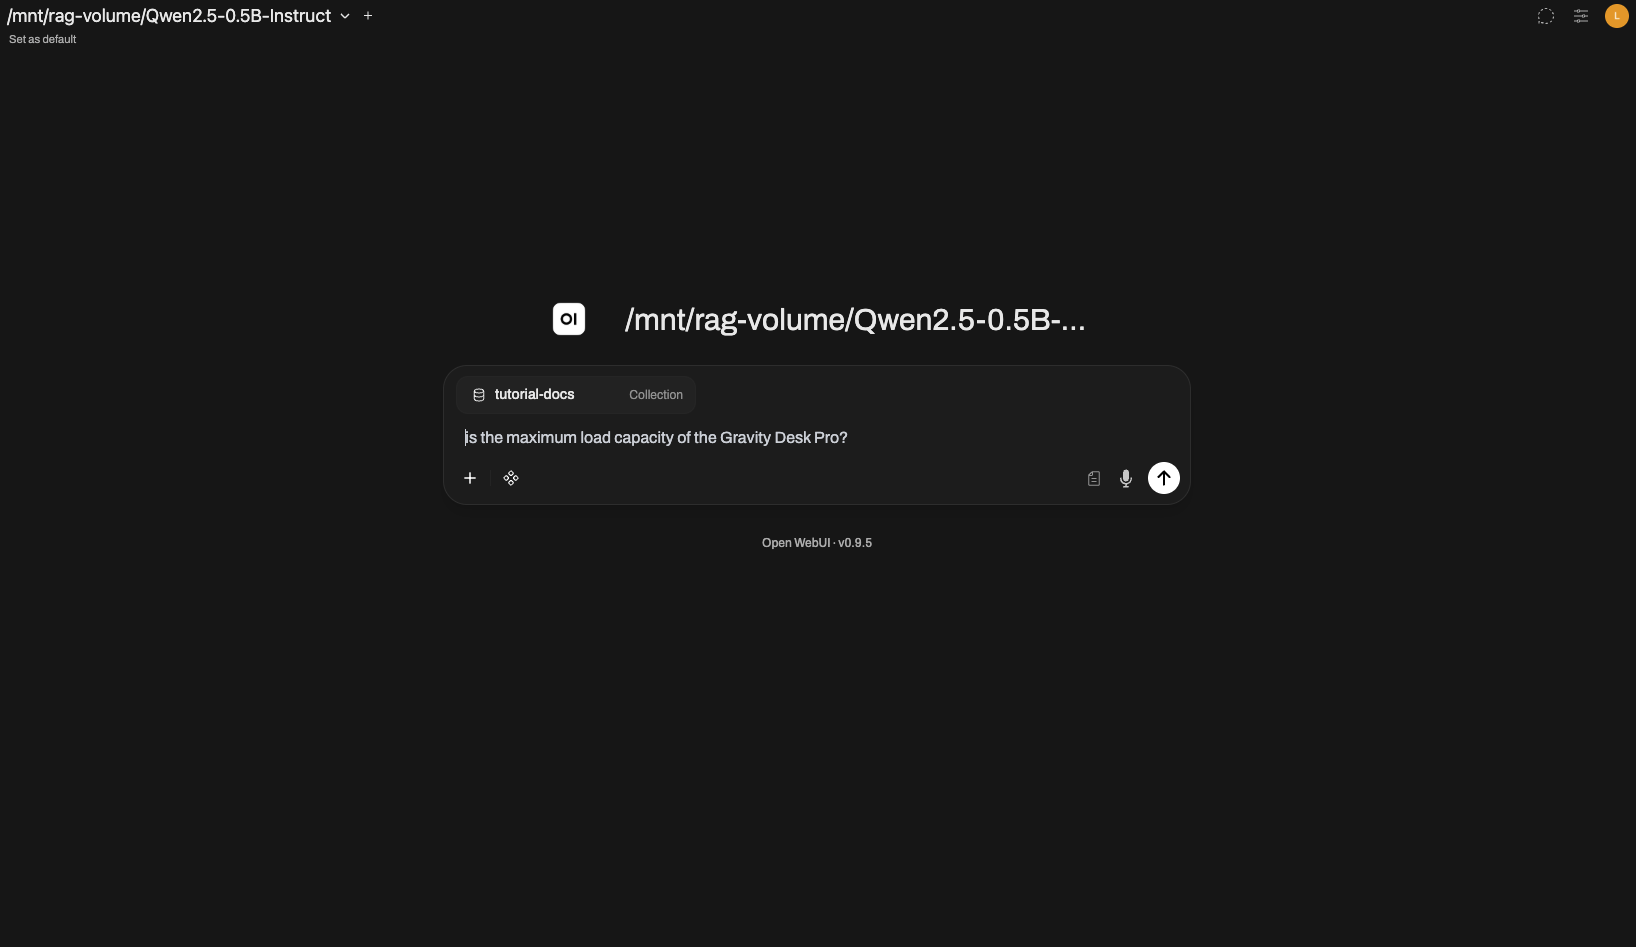
In a new chat, type # in the message input to see the list of registered Knowledge collections / files. Select tutorial-docs and ask the question.
Example questions (based on uploaded English manuals — since the default embedding model is English-leaning, write questions in English):
#tutorial-docs What is the maximum load capacity of the Gravity Desk Pro?
#tutorial-docs What does error code E04 on the Claymore K3 mean and how should I handle it?
#tutorial-docs How long does the Claymore K3 self-diagnosis take, and what should I do if the LED blinks red?
#tutorial-docs When does the Gravity Desk Pro require ACS recalibration?
When the response finishes, a list of referenced document chunks is shown collapsed above the answer. Click to see the original chunk contents.
Method 2 — Permanently bind Knowledge to a model
If typing # every chat is cumbersome, you can bind collections at the model level.
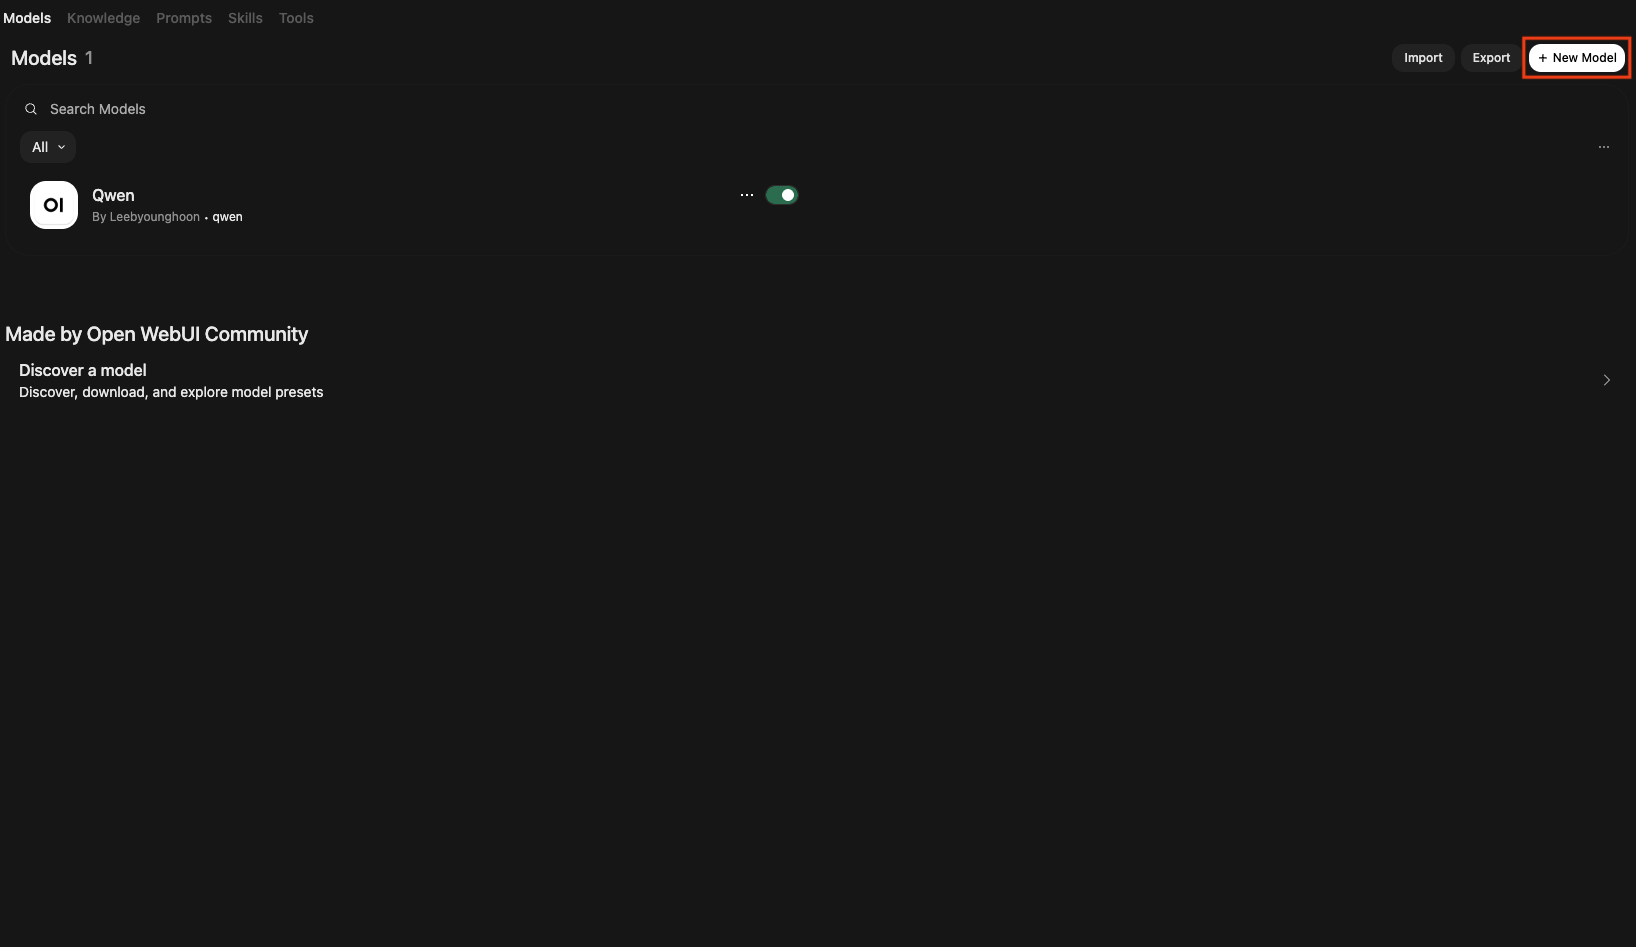

- Click Workspace > Models > + New Model.
- In Base Model (From), select the model exposed by the LLM Serving (e.g.,
/mnt/rag-volume/Qwen2.5-0.5B-Instruct). - Set Name to
qwen. - In the Knowledge section, click Select Knowledge and add the
tutorial-docscollection. - Click Save & Create in the upper right.
Now when you select qwen from the model dropdown at the top of a chat, every message automatically goes through the tutorial-docs collection and is answered with RAG.
9. Check response + sources
Ask questions related to the uploaded documents and verify the answer and the referenced documents.
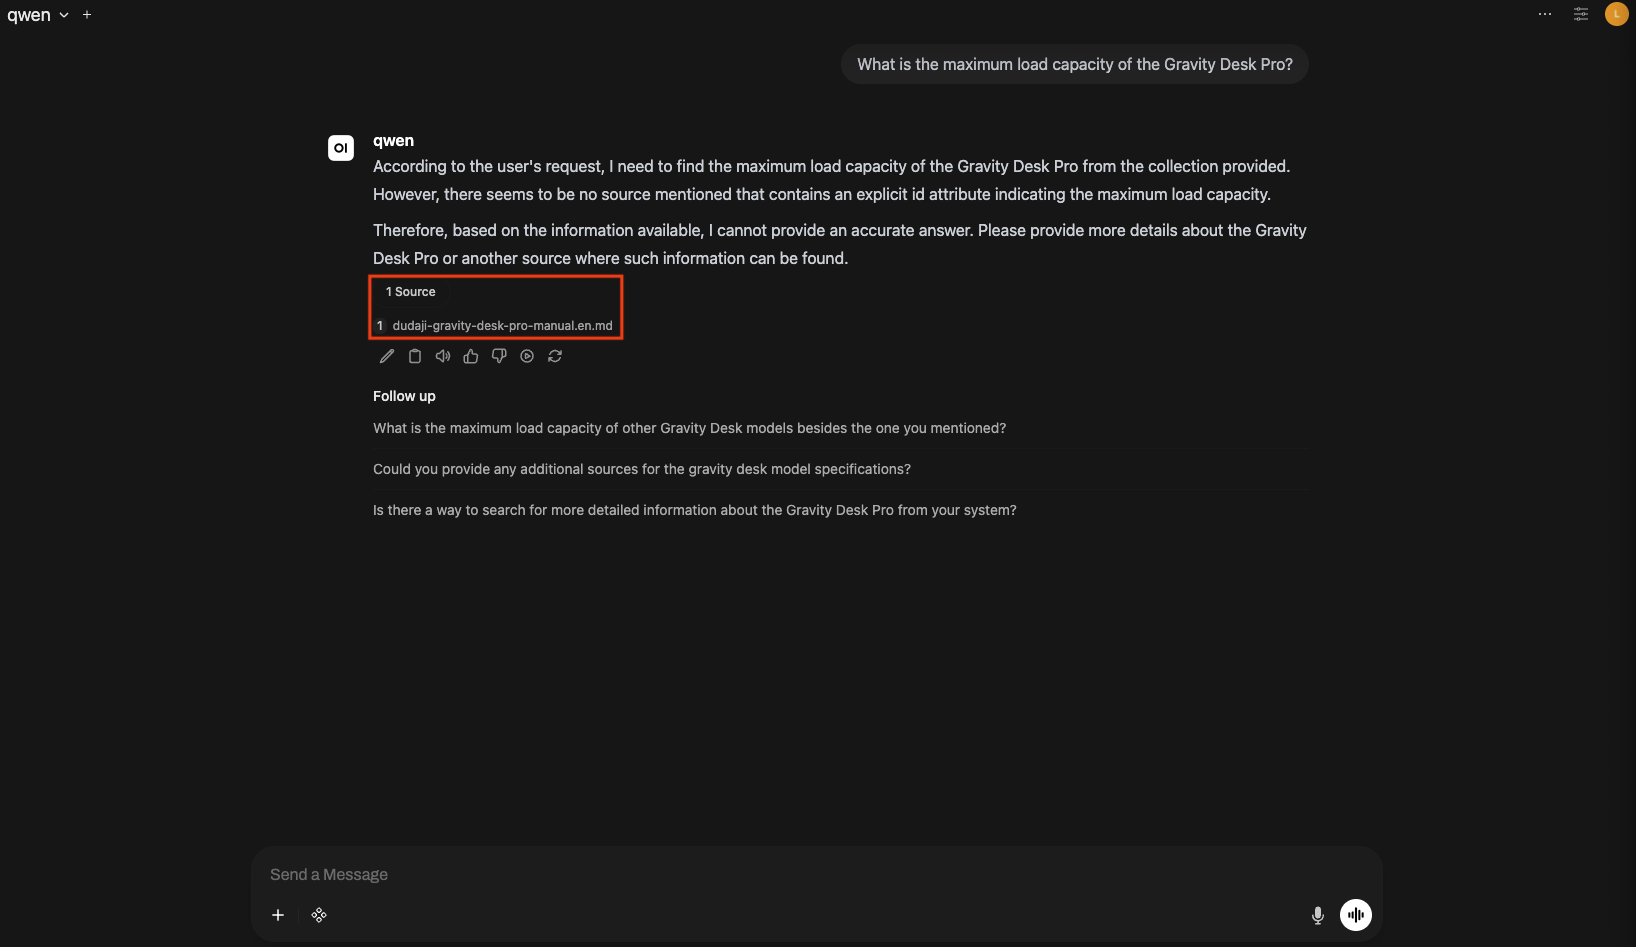
- The answer body is generated by the LLM Serving.
- The answer area also shows a Source button.
- Clicking the Source button shows the document chunks (filename, partial body) referenced when creating the answer.
Qwen2.5-0.5B-Instruct deployed in the E2E tutorial is a 0.5B-class small model, so answers based on RAG-retrieved documents may be inaccurate or formatted inconsistently. Swap the LLM Serving to a larger model and perceived quality improves significantly.