Create Volume
Create a persistent storage volume to hold model files, compilation artifacts, and other data.
Method A: Dynamic Provisioning
The cluster allocates storage automatically. You can use it right away without a separate NAS.
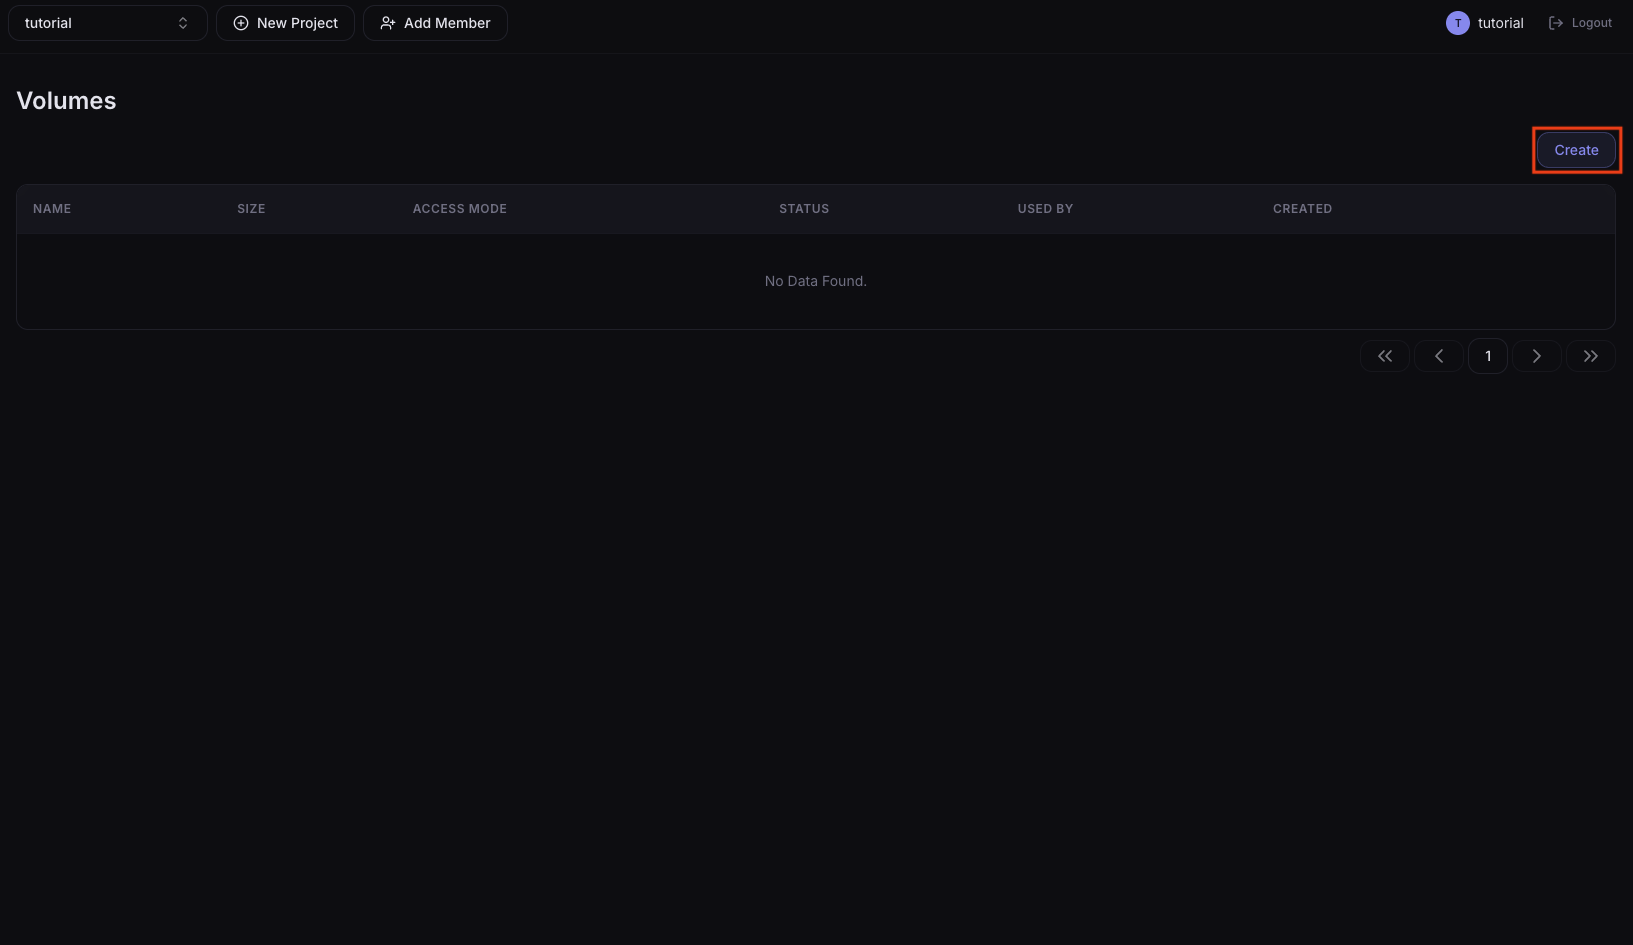
1. Go to the Volumes menu
In the left sidebar, click Resources > Volumes and press the Create button.
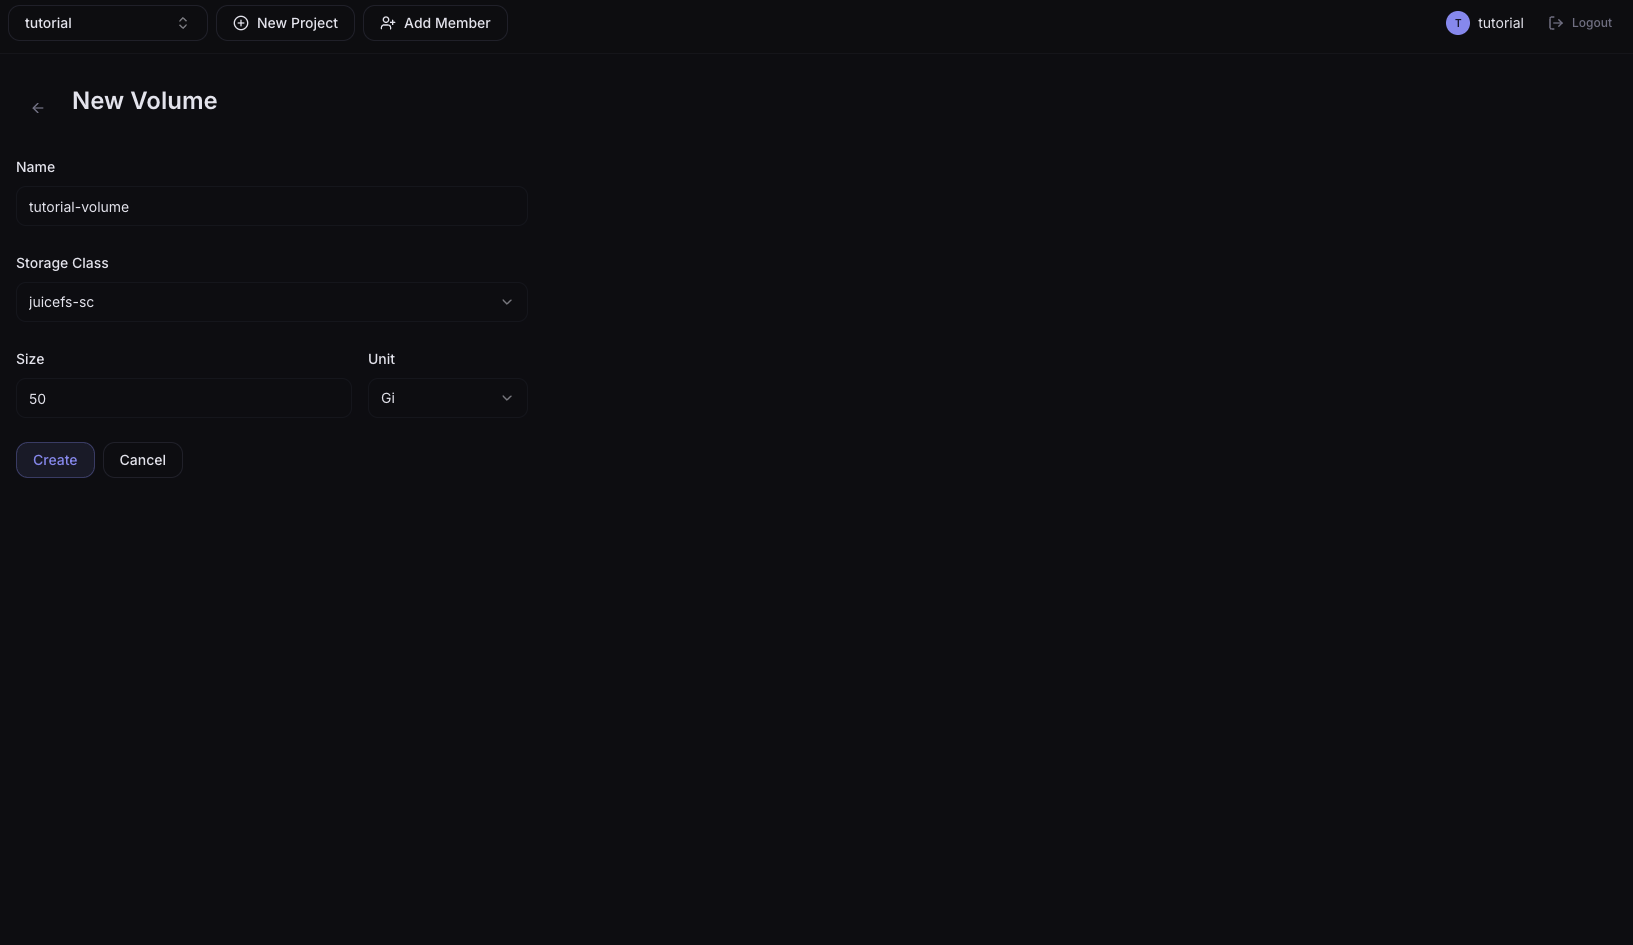
2. Enter the volume information
| Field | Example value |
|---|---|
| Name | tutorial-volume |
| Storage Class | juicefs-sc |
| Size | 50Gi |
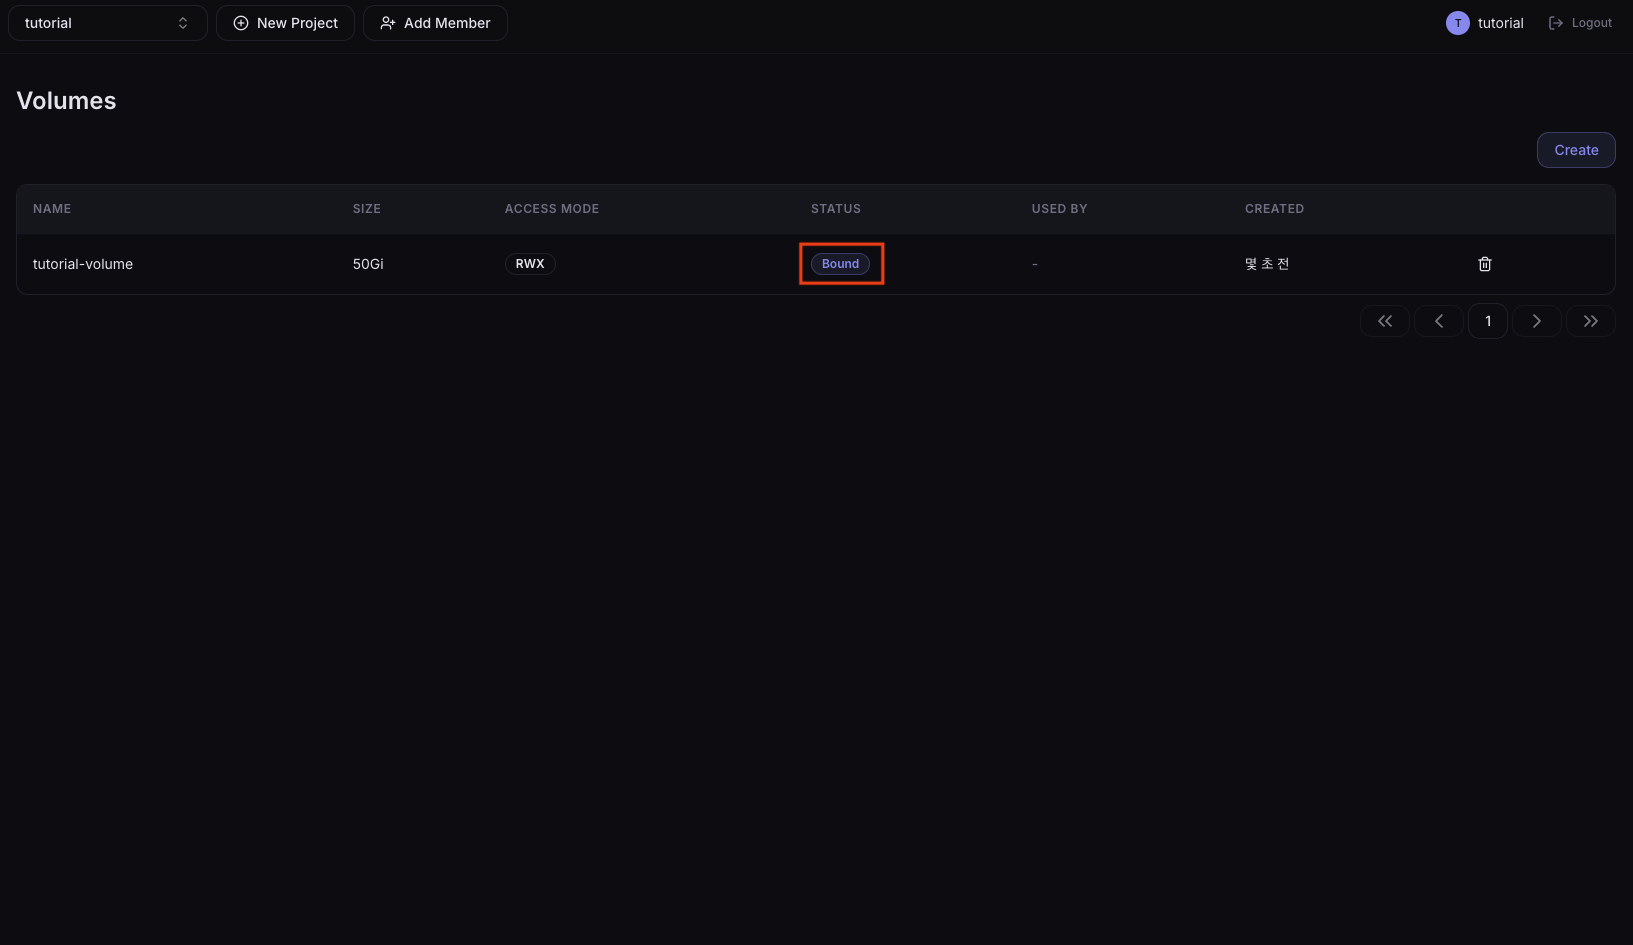
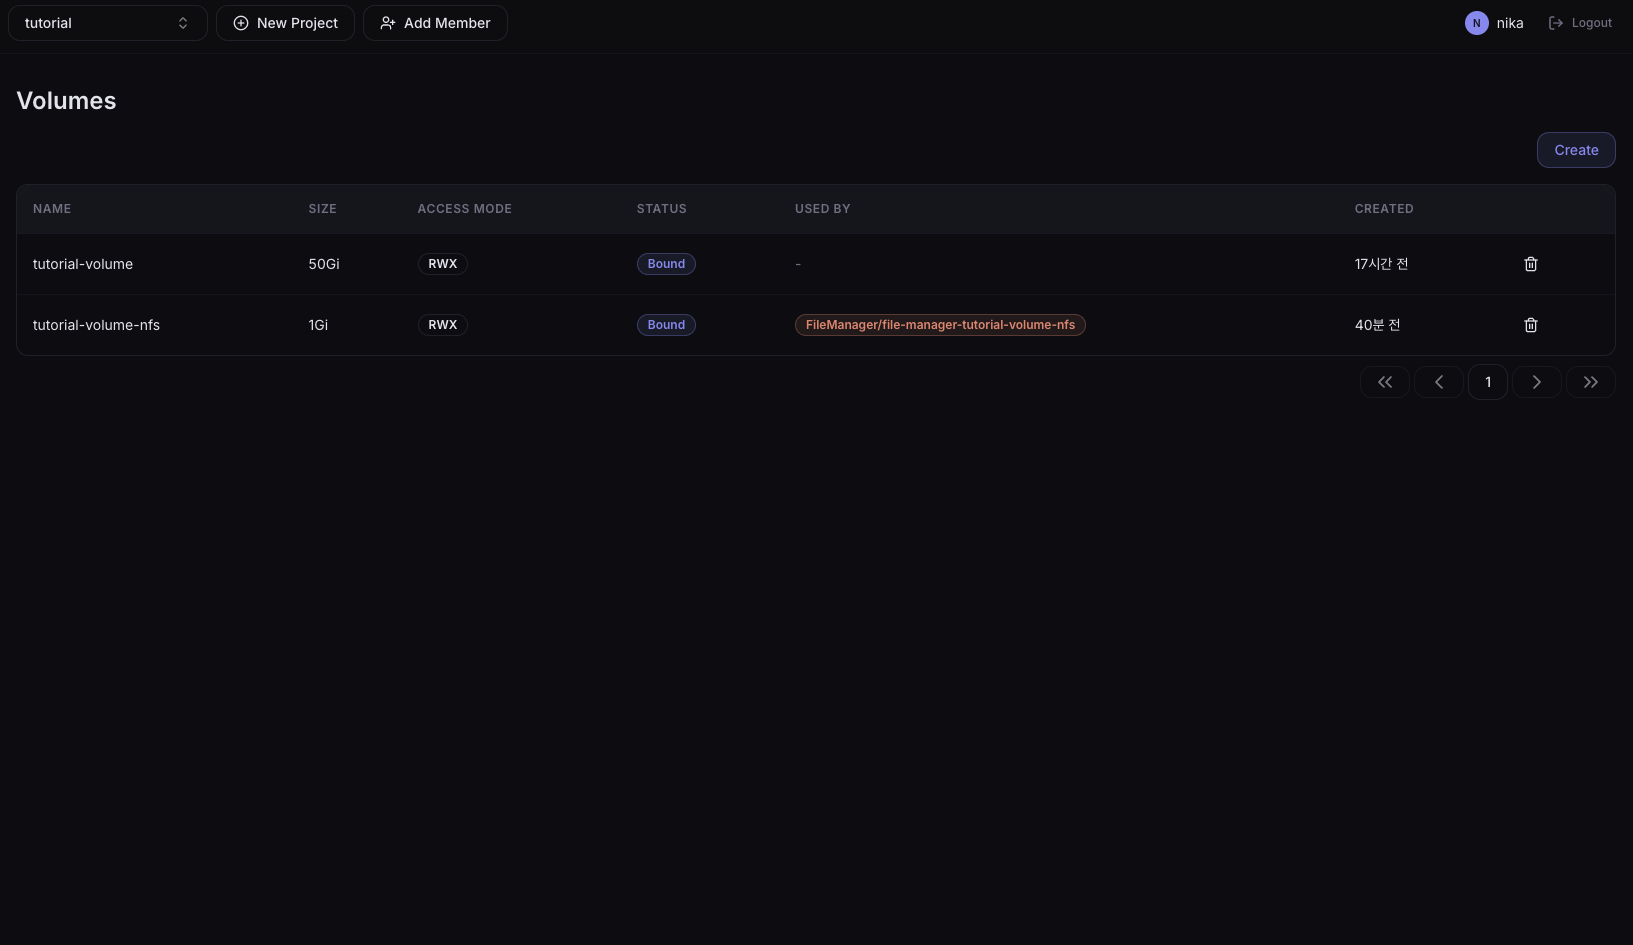
3. Check Bound status
After Create, the volume is ready when its status in the list changes to Bound.
Method B: Connect NAS (Static Provisioning)
Connect an in-house NAS (shared storage) as a volume. Select a StorageClass registered by the administrator to either create a new volume or connect to an existing path.
NAS connection requires administrator work. Ask your administrator to register the NAS StorageClass and PV. Admin guide: Register StorageClass
1. Go to the Volumes menu
In the left sidebar, click Resources > Volumes and press the Create button.
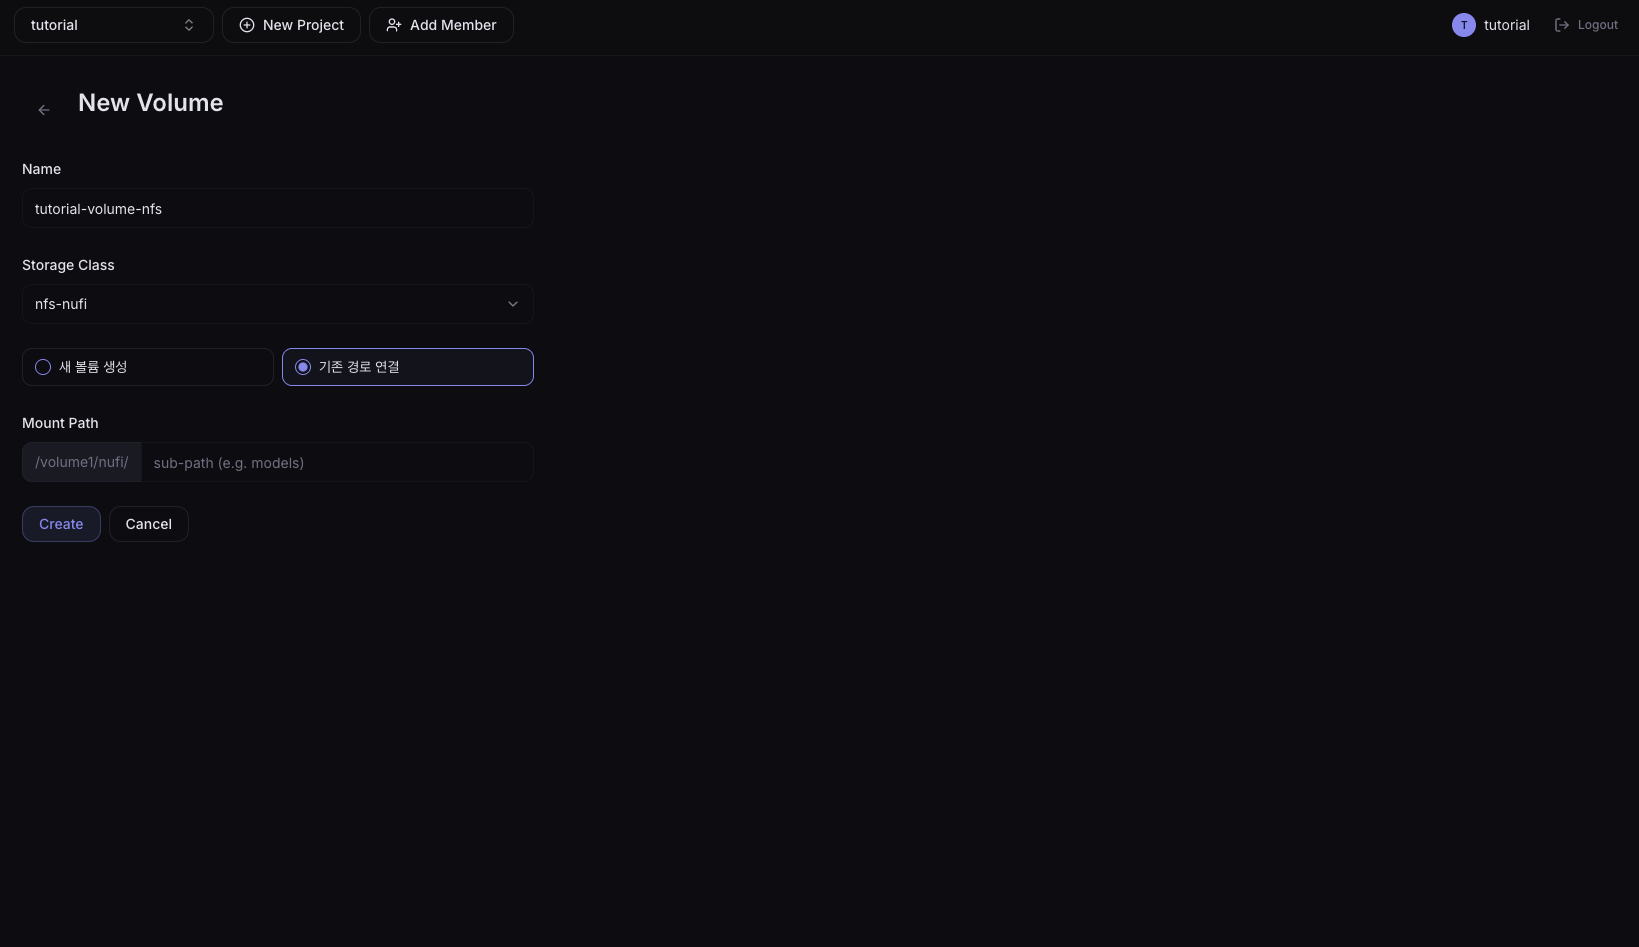
2. Enter the volume information
Selecting a StorageClass registered by the administrator gives you two options:
- Create a new volume: allocate a new path on the NAS to store data
- Connect to an existing path: bind to an existing model data path on the NAS
| Field | Value |
|---|---|
| Name | tutorial-volume-nfs |
| Storage Class | Choose a StorageClass created by the administrator |
| Size | Enter the capacity you need (applies only when creating a new volume — auto-set when connecting to an existing path) |
The NFS share path registered in the StorageClass must be the parent path of the model folder.
Example: if the model is in /volume1/nufi/Qwen2.5-0.5B-Instruct/, the share path must be /volume1/nufi so that the file browser can select the Qwen2.5-0.5B-Instruct folder.
3. Check Bound status
After Create, when the status changes to Bound, the NAS path is connected.
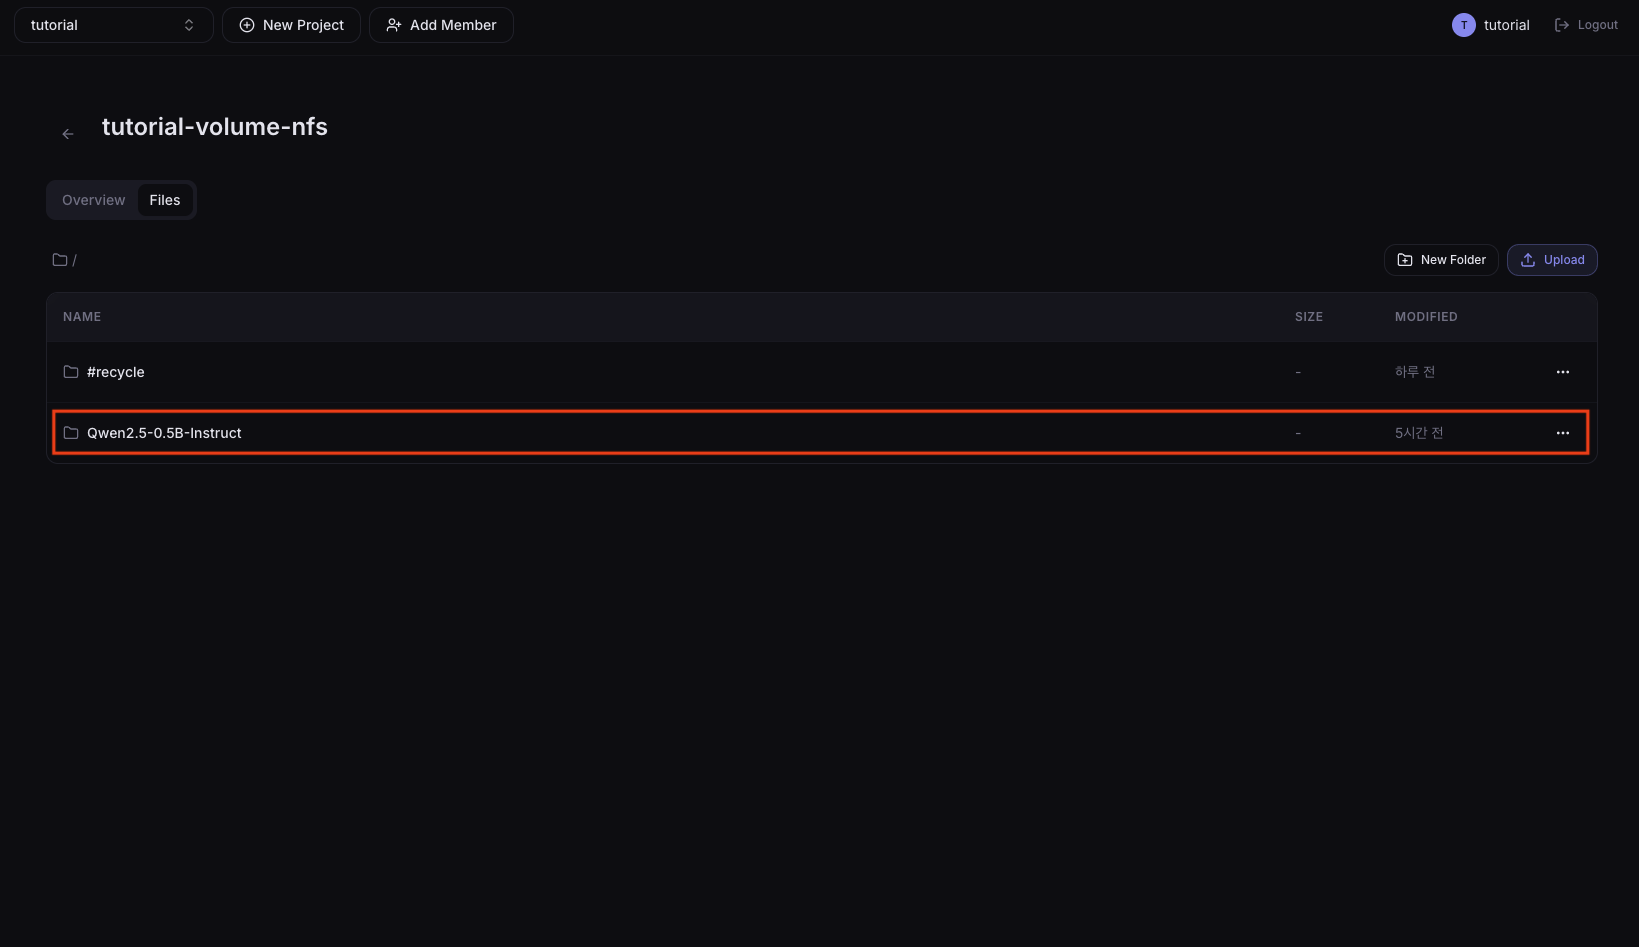
4. Check the mount
Click the created volume — there are Overview and Files tabs.
- Files: model folders such as
Qwen2.5-0.5B-Instructshould appear in the list. If the folder is not shown, check the share path configuration.
Next Step
Once volume creation is complete, proceed to one of the following:
- If the model is not on the NAS → 02. Create a per-device Lab, then 03. Download the model
- If the model is already on the NAS → 02. Create a per-device Lab, then 04. Register the model