Quick Start
This guide walks you through the full flow of logging into NuFi for the first time, deploying an AI model, and testing it, in 5 steps.
Estimated time: about 10 minutes (excluding model loading time)
Prerequisites
Confirm the following before starting the Quick Start.
| Condition | How to check |
|---|---|
| NuFi installation complete | Ask your administrator, or see the Installation Guide |
| Dashboard accessible | Open the NuFi dashboard URL in a browser and verify access |
| Account issued | Receive a login account (email) from your administrator |
Step 1: Log In
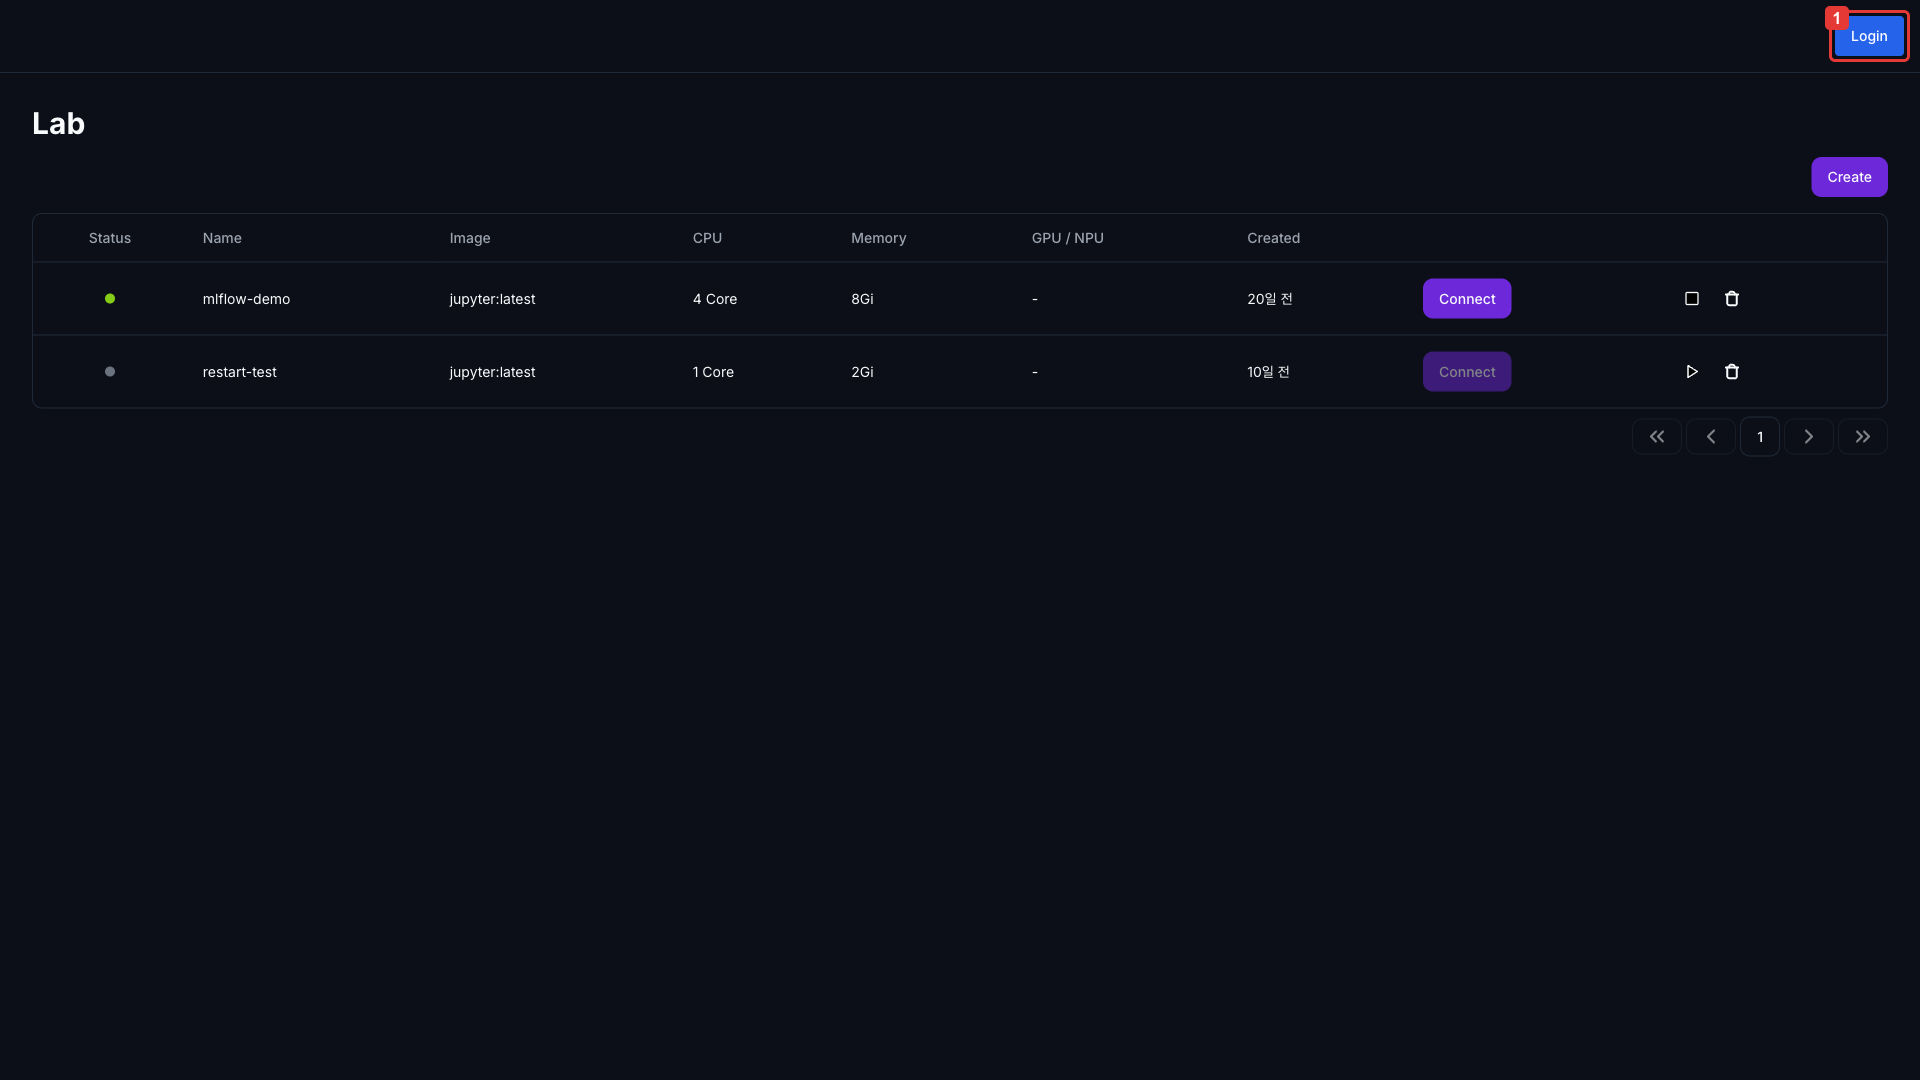
Click the ① Login button in the upper right. OAuth-based authentication is supported.
After login, the project selection dropdown in the top header becomes active.
Step 2: Create a Project
A project is the unit of resource isolation. Labs, Servings, and Volumes are all managed per project.
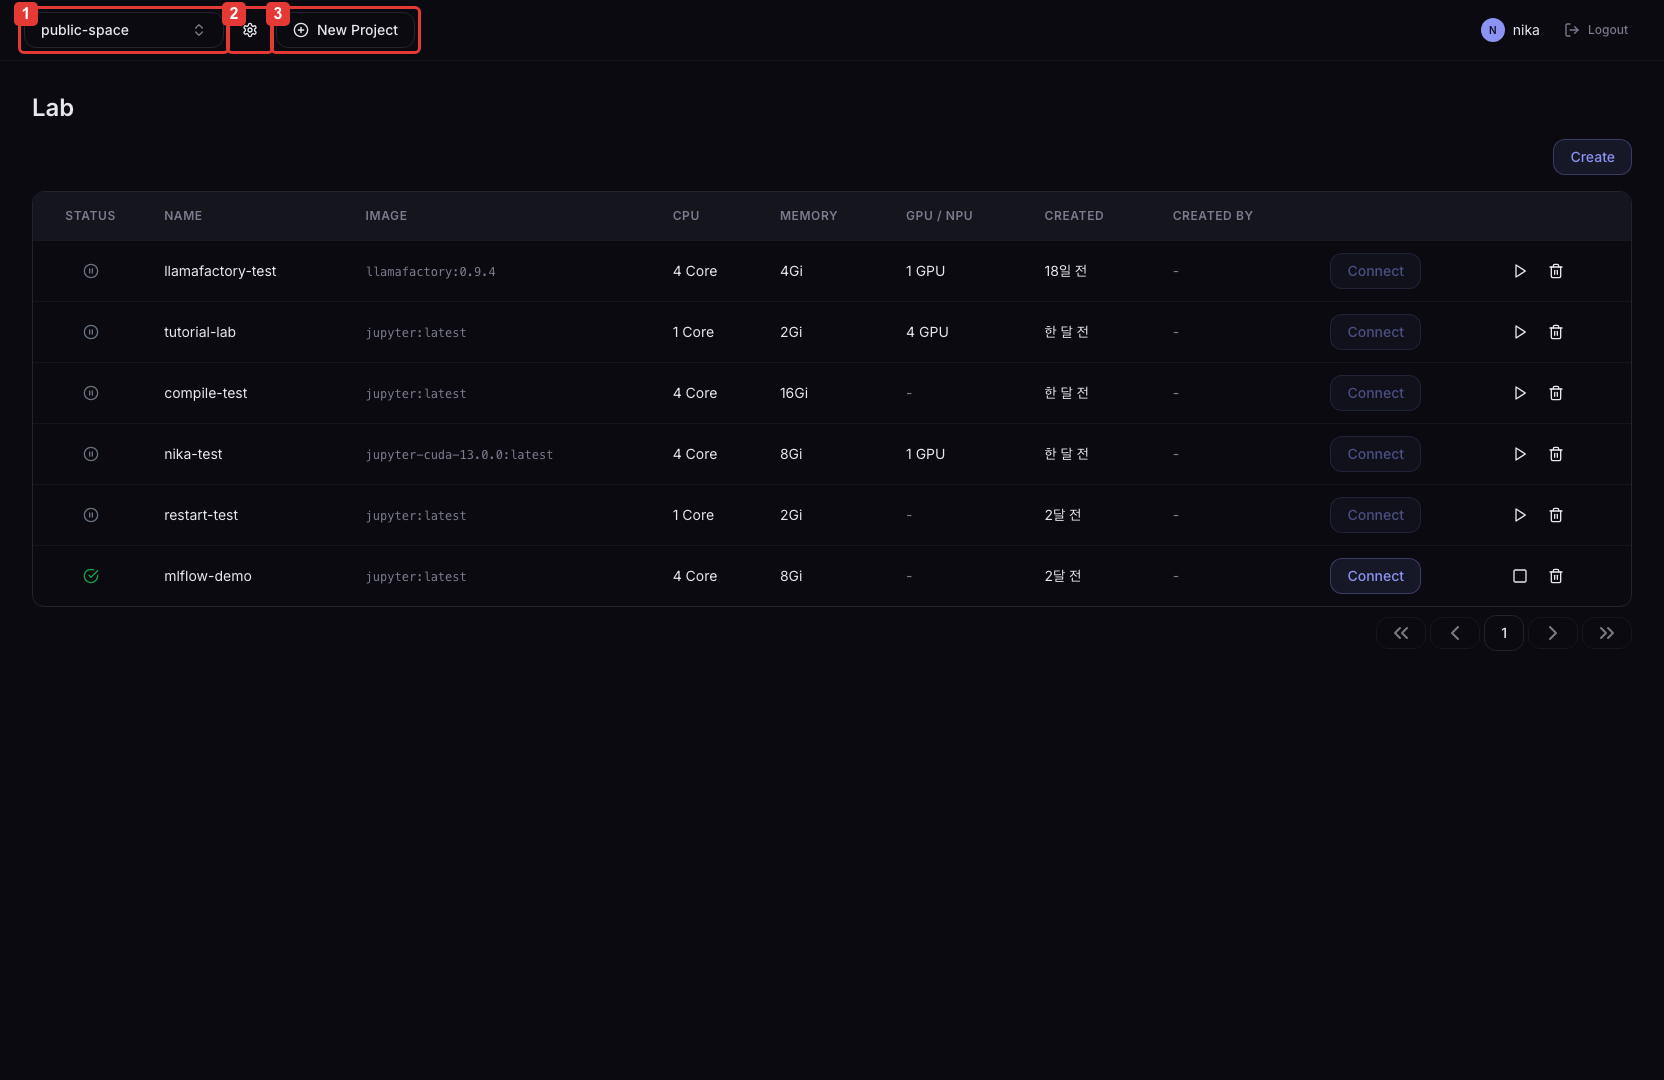
- Click the ② New Project button in the top header.
- Enter the project name.
- Lowercase letters, digits, and hyphens (-) / at least 3 characters (e.g.,
my-first-project)
- Lowercase letters, digits, and hyphens (-) / at least 3 characters (e.g.,
- Click the Create button.
The created project is automatically selected in the dropdown.
Step 3: Deploy a Model
In the left sidebar, click Serving.
- Click the ① Create button.
- Fill in Step 1 — Basic information.
- Service Name: deployment name (e.g.,
llm-demo) - Service Template: the inference framework to use (e.g.,
vLLM)
- Service Name: deployment name (e.g.,
- Click Next to move to Step 2 — Detailed settings.
- Image: select the inference server container image
- Accelerator Type / Count: select the GPU or NPU to use
- When using vLLM, enter the Huggingface model name in the Model field
- Click Next and review the settings in Step 3 — Review & Deploy.
- Click the Deploy button.
When you return to the Serving list, the status changes from Pending → Running. Model loading may take several minutes.
Step 4: Test in the Playground
Once the status is Running, click Playground in the left sidebar.
- From the dropdown at the top of the panel, select the Serving you just deployed.
- Enter a message in the bottom input box and click the Send button.
- Watch the model response stream in.
Using the + button you can add panels and place multiple Servings side by side to compare responses.
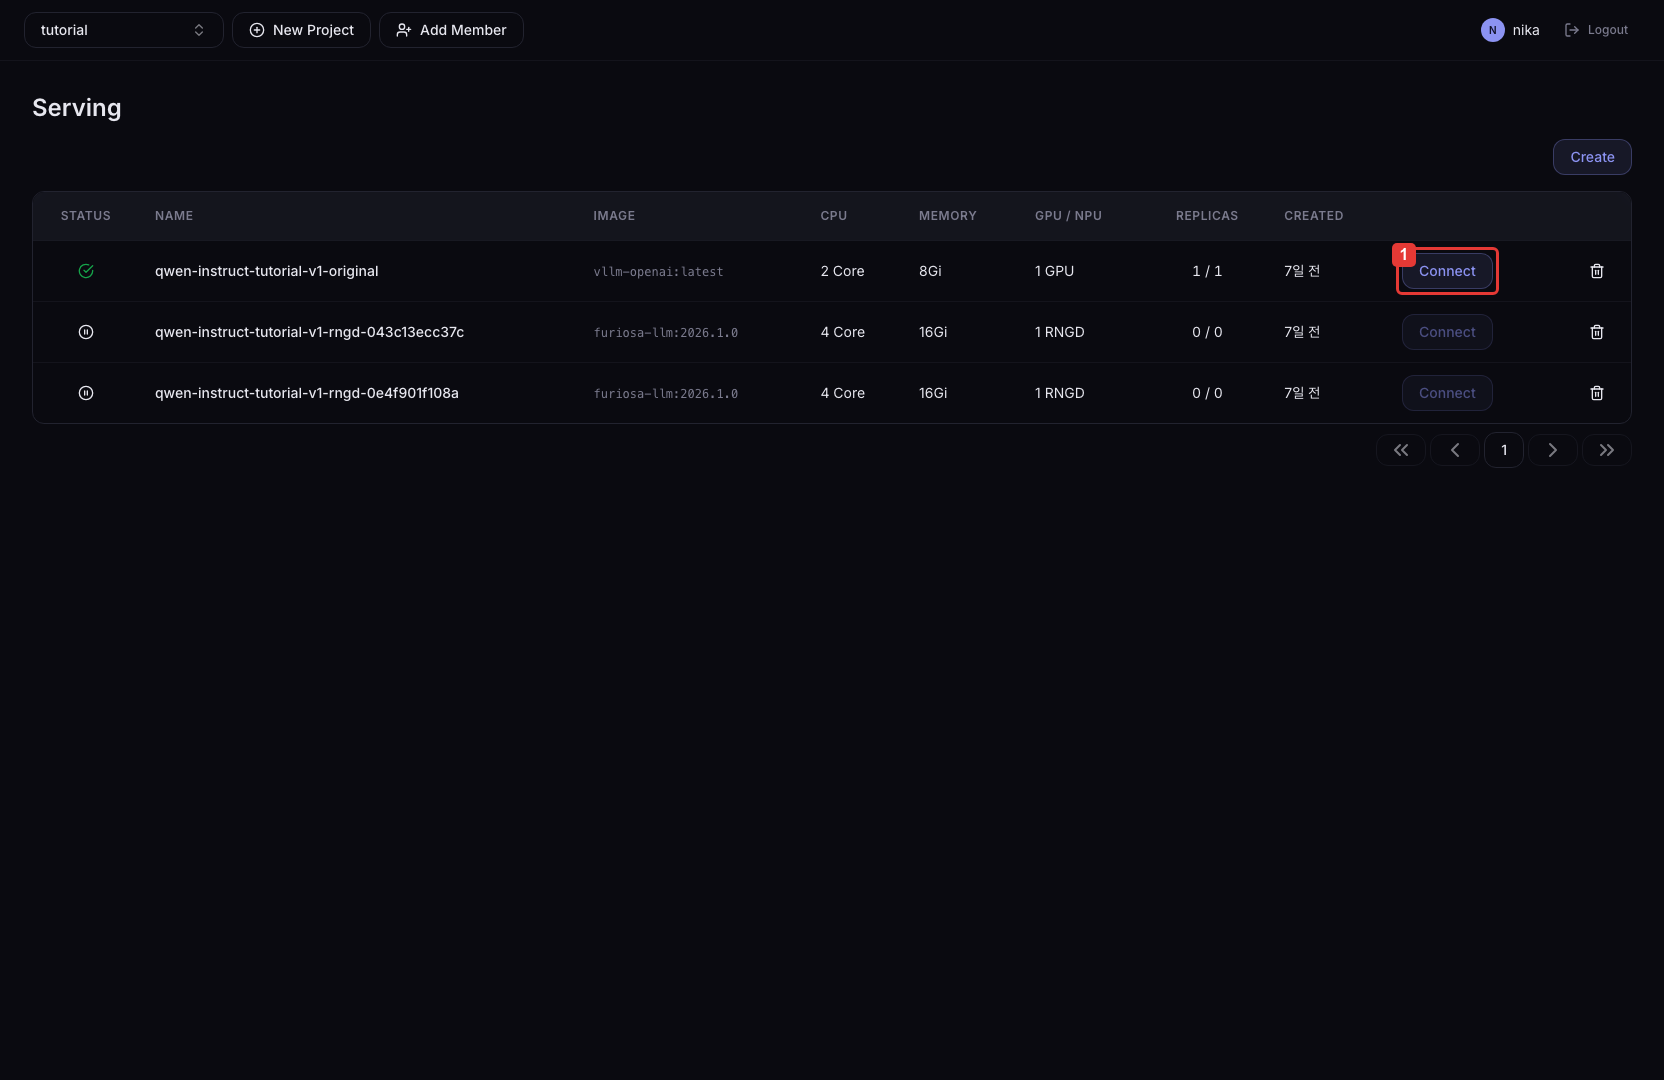
Step 5: Find the API Endpoint
A deployed model provides an OpenAI-compatible API endpoint.
Click the ② Connect button to find the endpoint URL.
The endpoint URL has the form https://<host>/<project>/<deployment-name>. Append the inference framework's API path (e.g., /v1/chat/completions) to call it.
curl -X POST 'https://<deployment-endpoint>/v1/chat/completions' \
  -H 'Content-Type: application/json' \
  -H 'Authorization: Bearer <token>' \
  -d '{
    "model": "<model-name>",
    "messages": [{"role": "user", "content": "Hello"}]
  }'